For a while, I’ve been musing over how to make the physical production of my artworks more sustainable, my last blog discussed the environmental impact of our hunger for gear and ever-increasing internet usage, and following that my thoughts turned to papers and inks.
A couple of things steered me in the direction of anthotypes – a comment from a friend on Instagram about using lupine emulsion and a chat with Tim Parkin from On Landscape.
Finding ourselves in the low-distraction world of lockdown seemed like the perfect opportunity to start tinkering. My pursuit for sustainability took me down two paths, first sourcing the plant emulsions and secondly making the paper, I’ll talk about both below.
The raw materials: I wanted to use plants that I could find around our home, so I started out by researching possibilities for both. Pretty quickly I decided I didn’t want to use anything particularly poisonous – it would seem counter-intuitive when we’re all so busy trying to avoid illness – which ruled out daffodils, iris and a couple of other possibilities for the paper. I was also limited by the season, I could only use the earliest of spring plants and flowers.
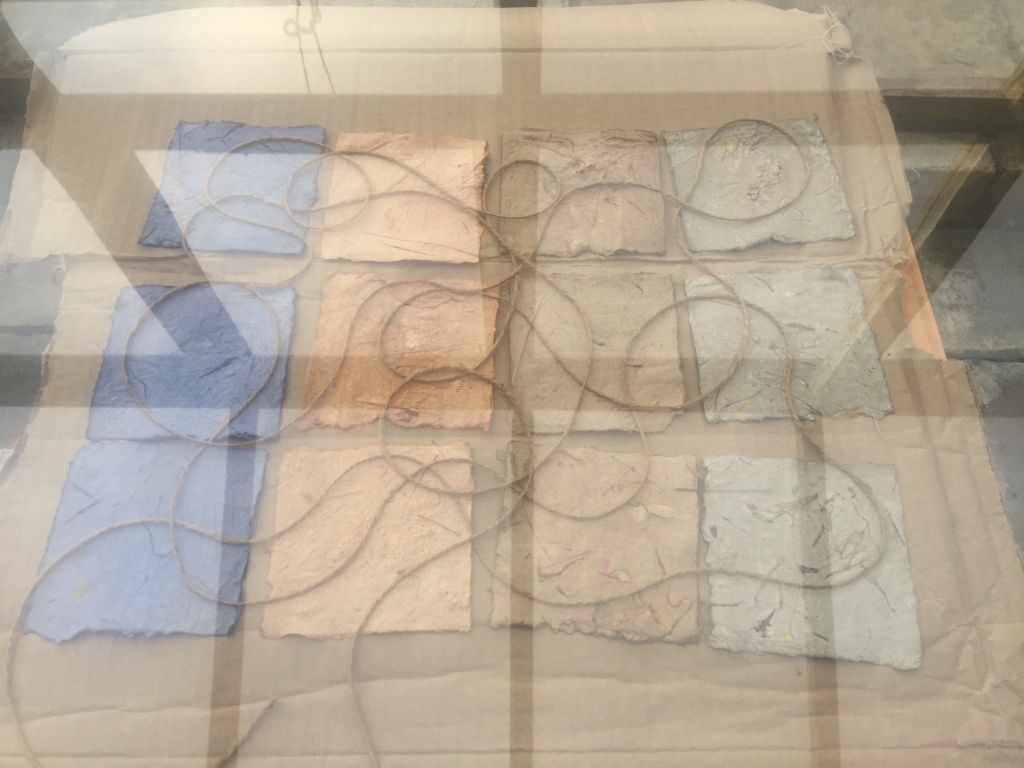
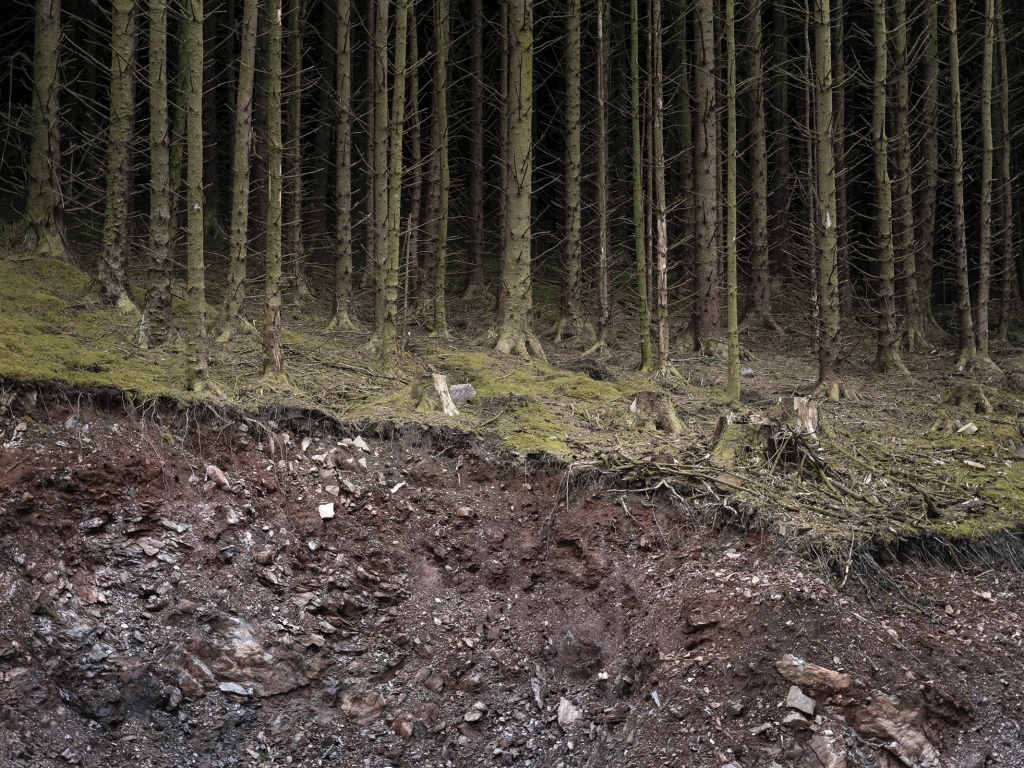
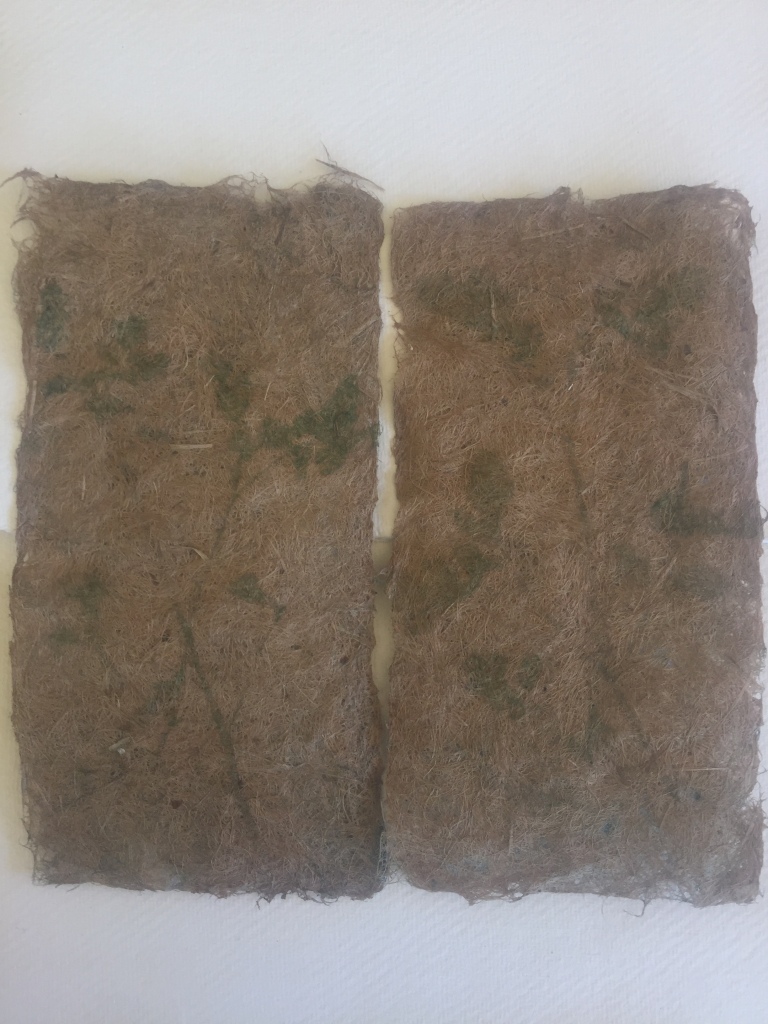
For the paper I settled on willow – we have scrub willows in abundance having let our land regenerate post-grazing for 11 years, they grow back vigorously from every cut which meant I could put aside any tree hacking guilt. For the emulsions, I started with dandelion and coltsfoot, which pleasingly were growing around the base of the willow, happy synchronicity meaning I could potentially make an artwork from a very small area of land. For a bit of variety, I also prepped colours from red and yellow onions and some red cabbage which we’d been carrying around for a few months.
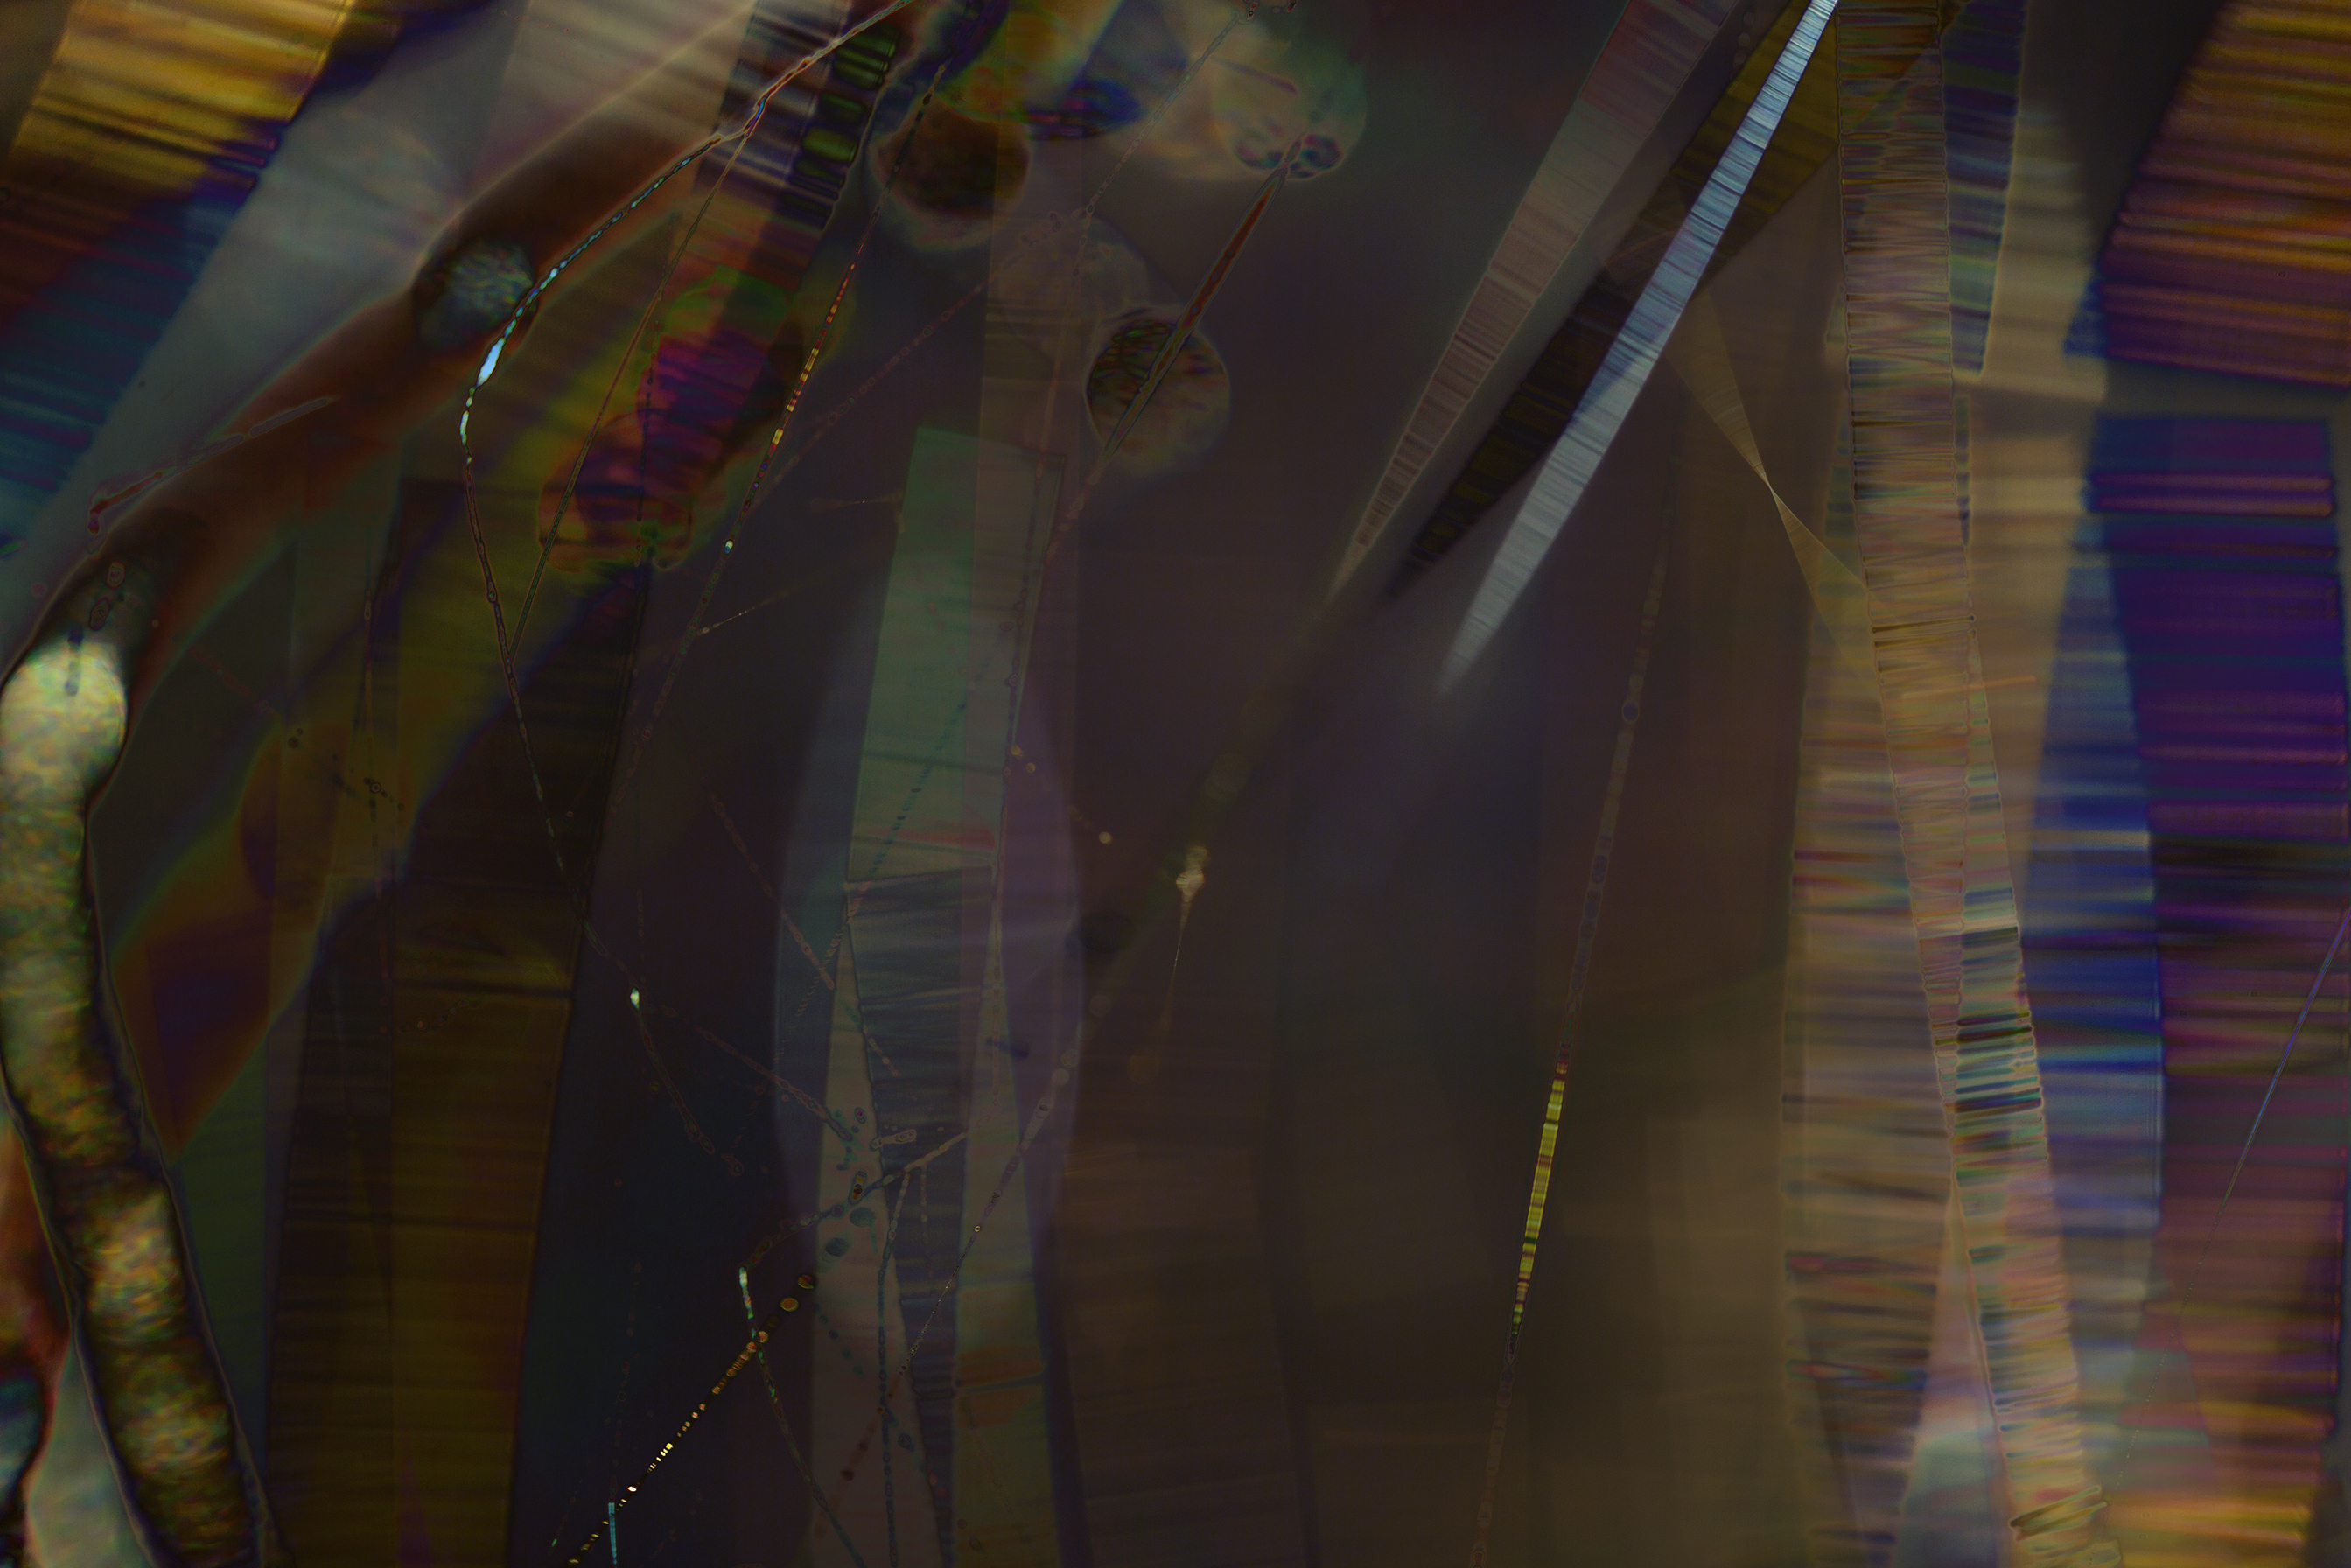
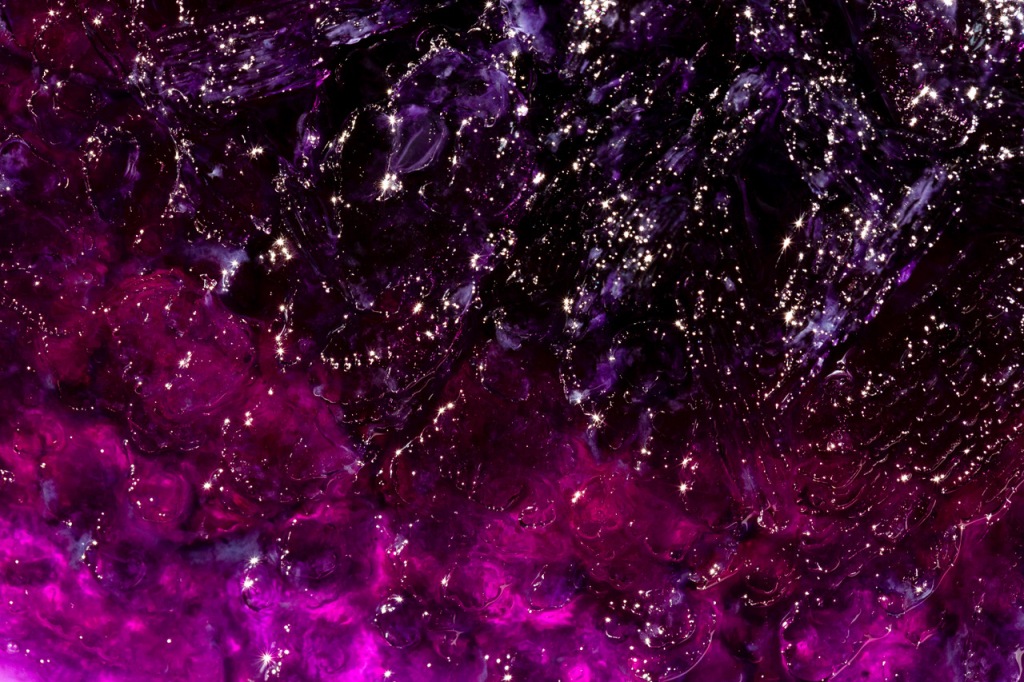
The emulsions were pretty straightforward to prepare, I simply took the raw materials, whole coltsfoot, dandelion heads, cabbage and onion skins and extracted them into a little hot water. I then blended them with a stick blender and strained them through a muslin cloth, and they were ready to go. I did get momentarily distracted when some of the cabbage water froze a little overnight in the fridge, creating a glittering galaxy-scape to explore with my 100mm macro for a while. Plant colours are a lot of fun, if I forgot to mention it.
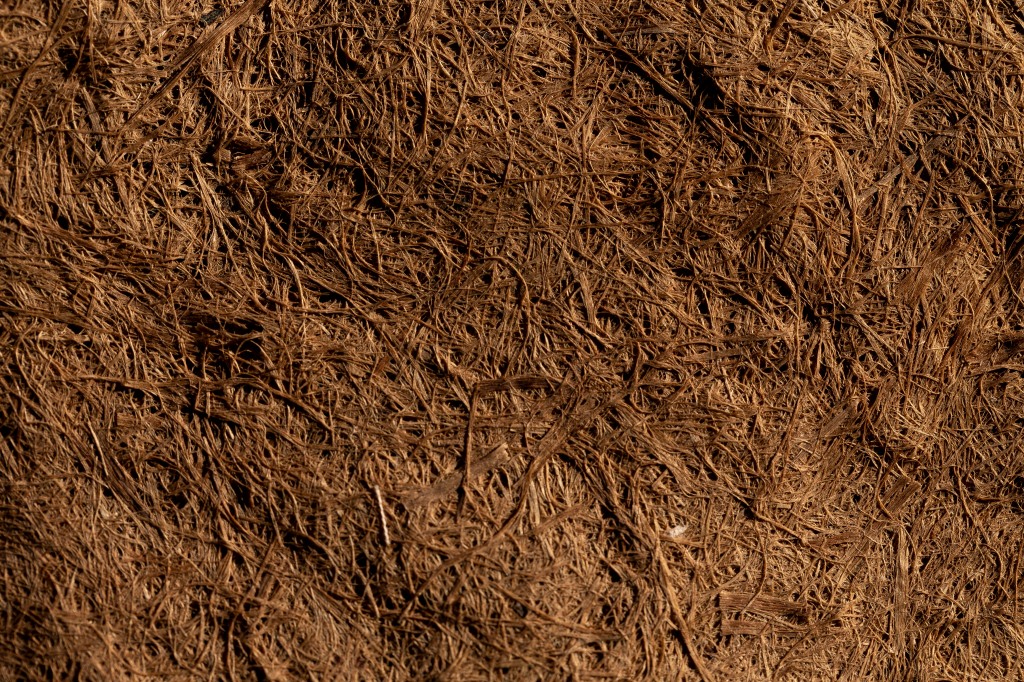
The paper was an entirely different ballgame. I had to literally ‘strip the willow’ – ceilidhs will never be the same again – and for some reason decided my fingernails were the ideal tool for this. For those that have never tried it, taking ‘bast’ fibre from willow involves stripping the outer bark from the wood and then separating the outer layer from the inner layer. I need several pounds of this material, and it took me more than one day to process enough. By the end, my fingernails felt very bruised, and I did manage to speed things up a little towards the end by using a potato peeler. As with any long tasks I questioned my sanity a few times but came round to thinking how ironic it is that humans spend so much time inventing time-saving gadgets, then end up burning out and seeking quiet retreats… offering slow, mindful tasks.
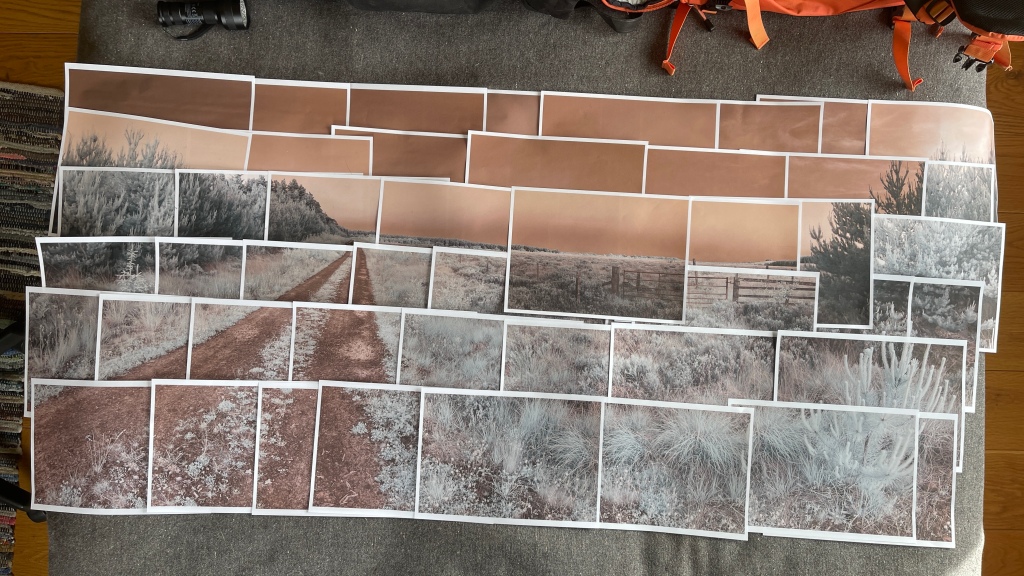
I won’t go into all the ins and outs of the papermaking here as that can be a blog for another day. Suffice to say the paper I made from willow was unexpectedly rustic, and I was glad to also have some that I’d made from recycling various paper scraps from around the house.
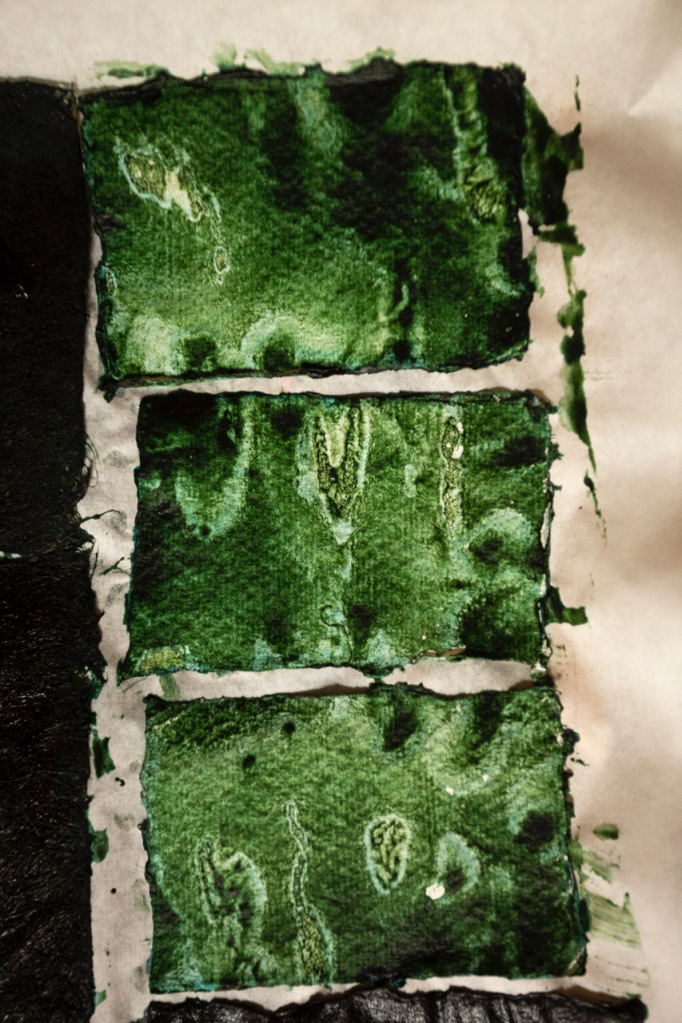
I immersed the various papers into different dyes for a few minutes, and agitated them to get a good covering, then left them to dry in a dark place. (If you do this using home made recycled paper from scraps it might not be very strong and can only be dipped for a few seconds without the risk of breaking up.)

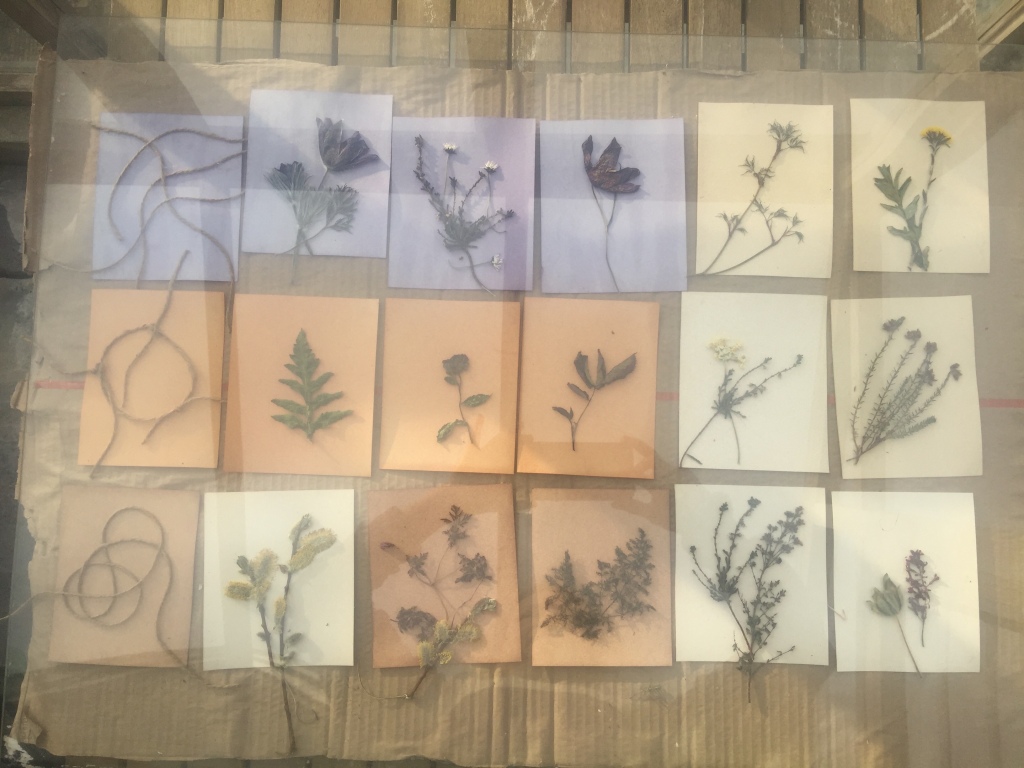
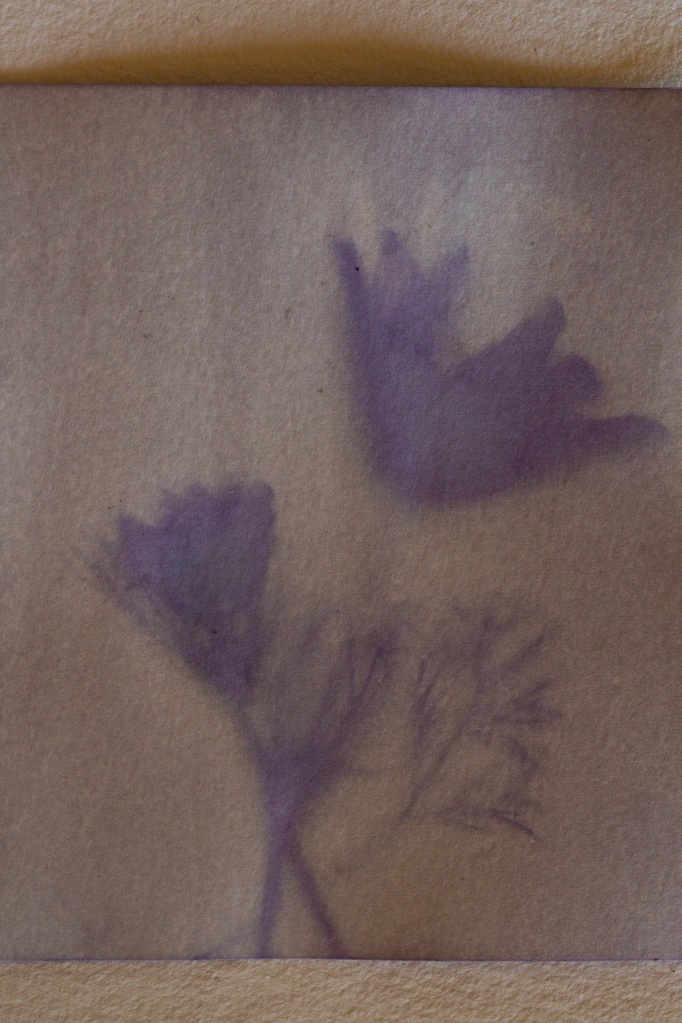
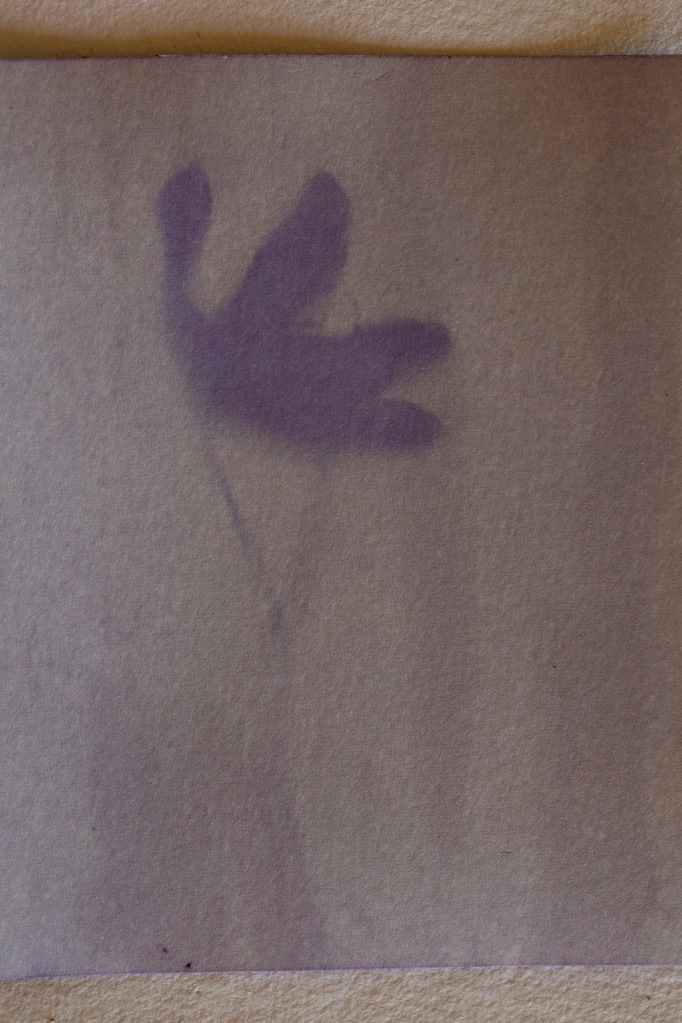
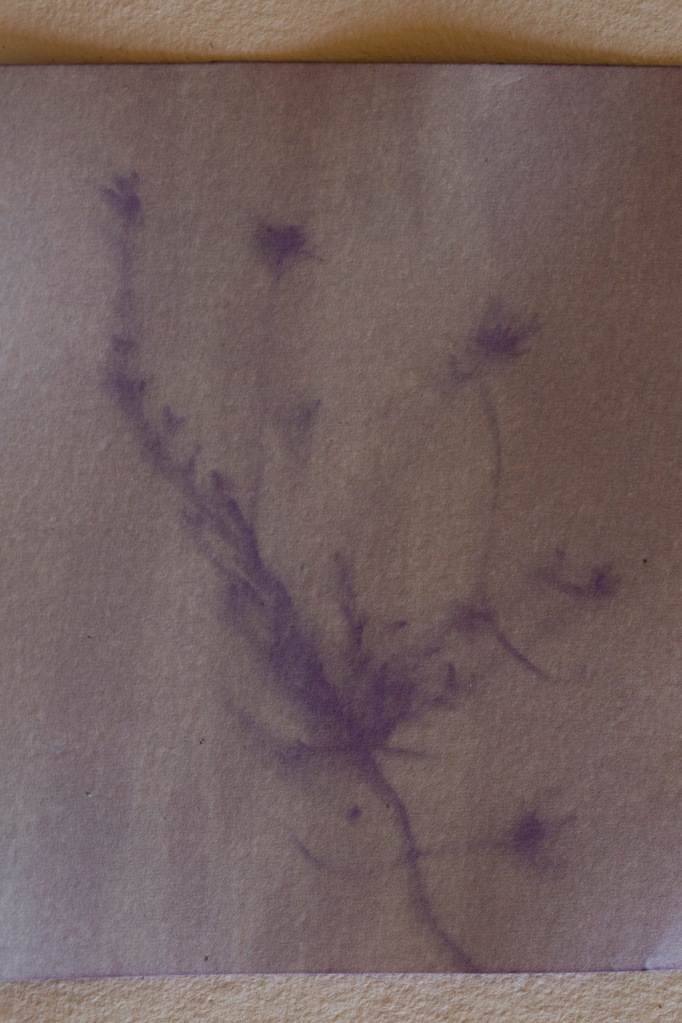
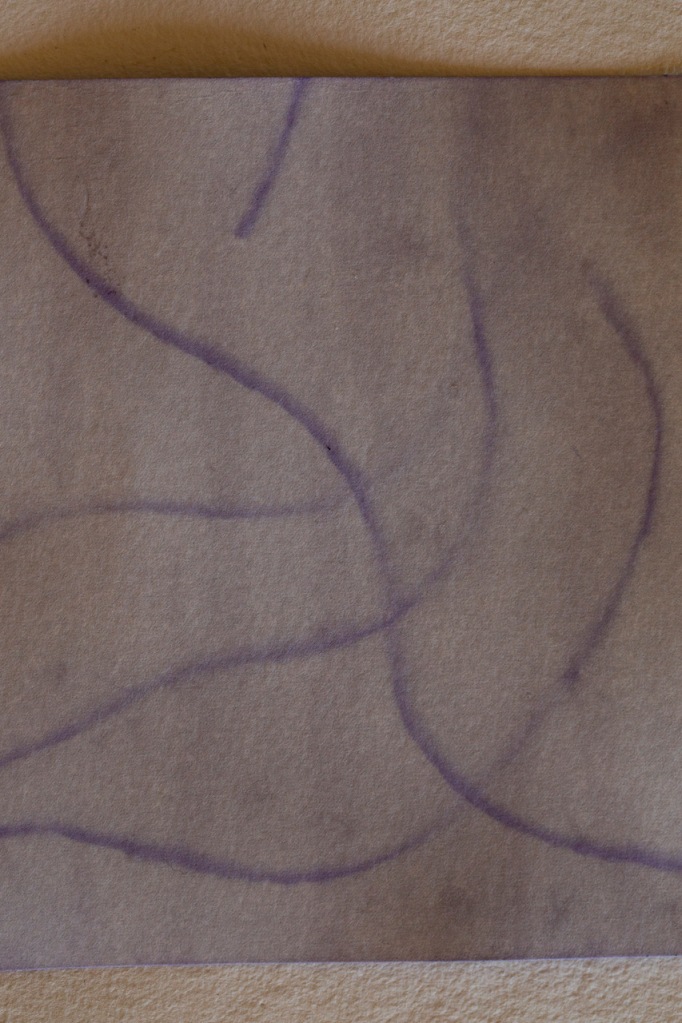
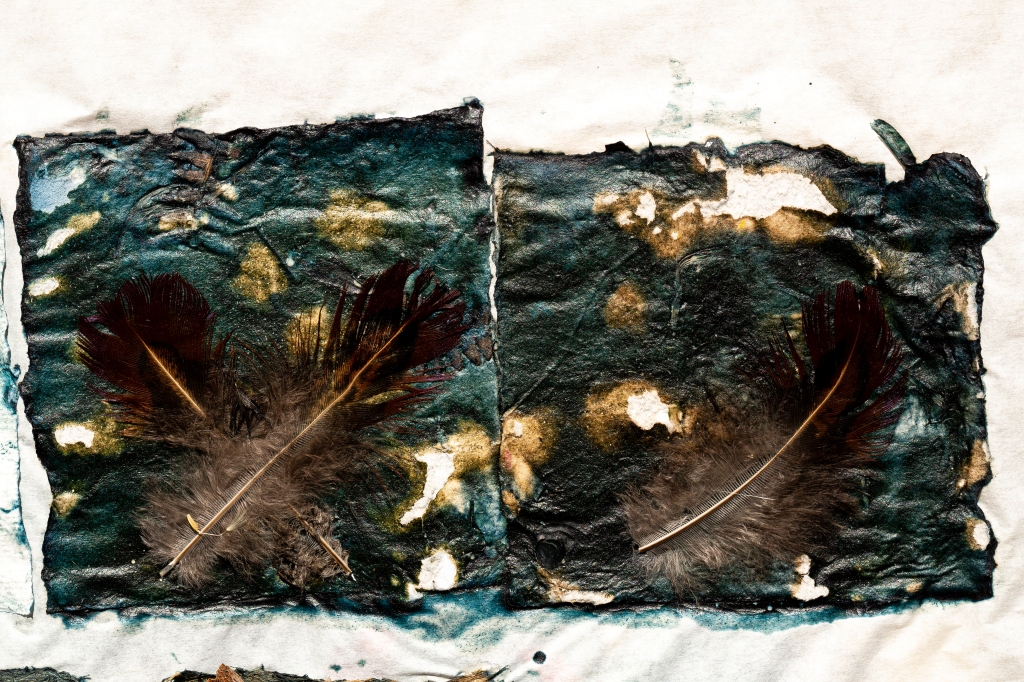
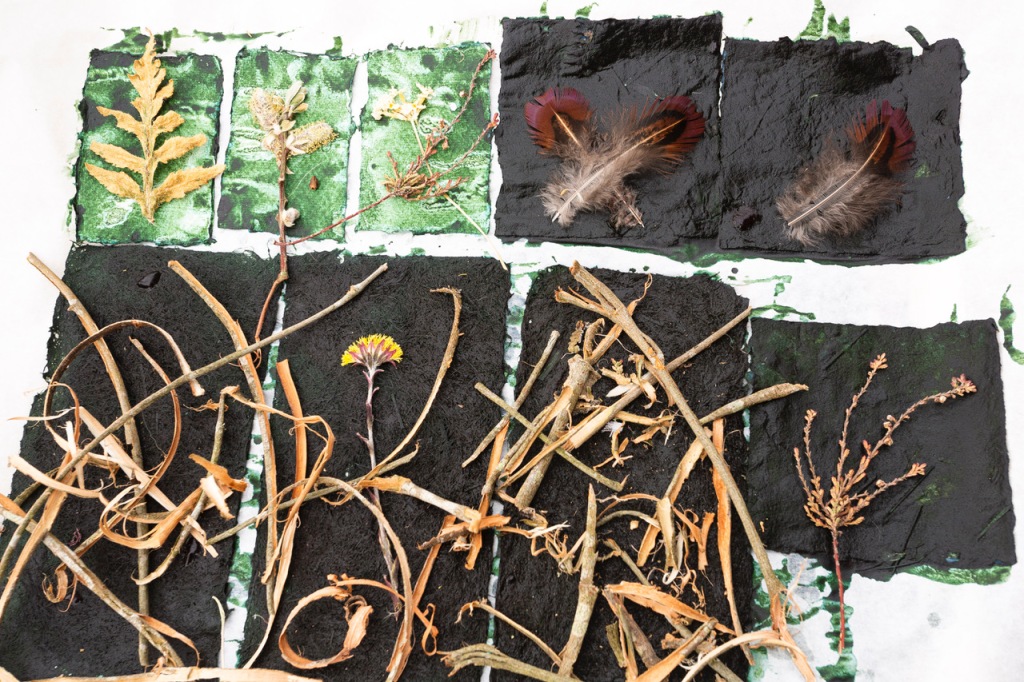
When it came to choosing subjects for exposing, I looked to the garden for attractive flowers and leaves, and also used some of the willow strippings and micro veg we were growing to eat. Lastly, I did some with string, something that I’m always drawn to when I’m playing with alternative processes, you can see a cyanotype exposure made with string here, along with some other experiments and finished pieces.
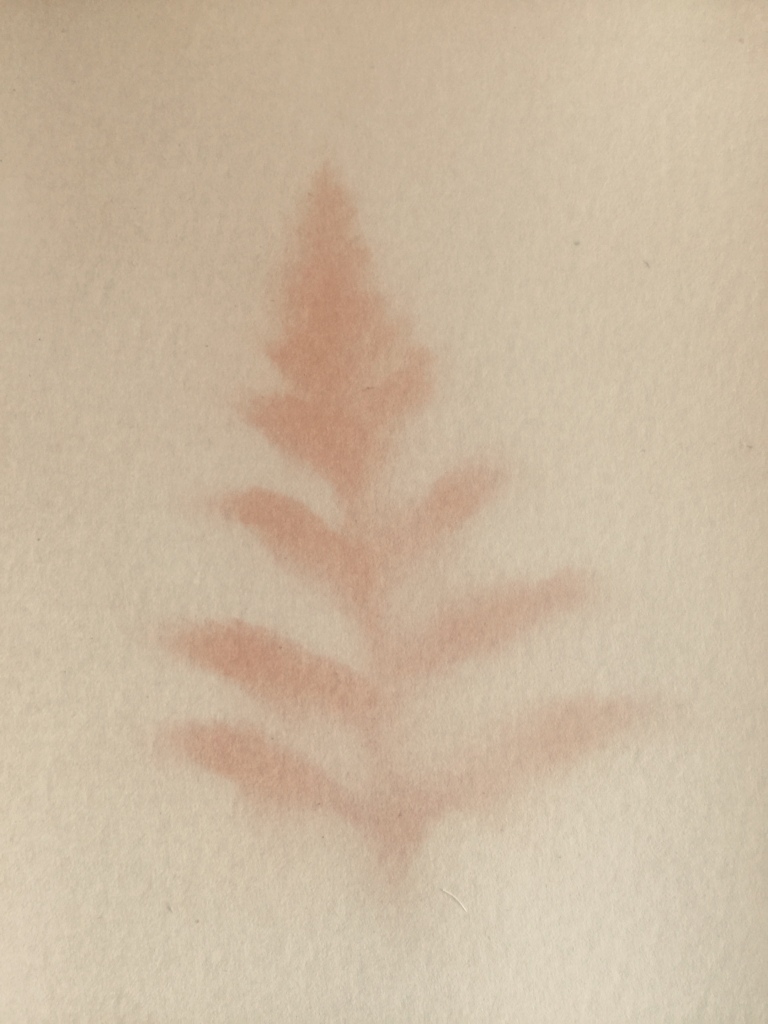
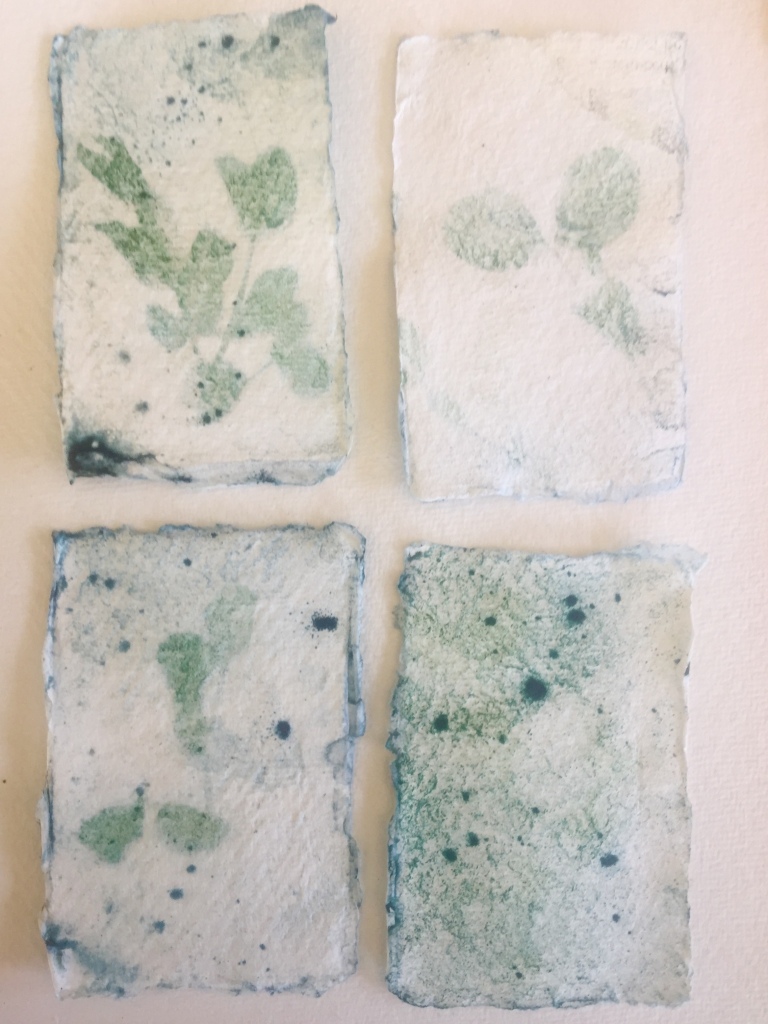
In a dark space, I set the paper up with the objects in place and then covered them with a spare piece of glass from the greenhouse. I then put them in the greenhouse on tables, (outside isn’t usually an option for us in Scotland as it can get incredibly windy and wet). I was pleasantly surprised to have weeks of sunshine to work on this, a real rarity where we live.
I left these initial exposures out for a couple of weeks with varying results.
I also had some other plant type dyes around from a big wool dyeing session last summer so the second batch were set up using spirulina and alkanet root (although I’d forgotten that you need to extract the latter into oil or alcohol which I should have remembered from my soap making days). I ended up adding oil to the extract which immediately turned it red, but now I have some slightly rank smelling bits of paper. The spirulina prints exposed very quickly so were only out for a couple of days. It was one of the only colours that was dark enough to make an impression on the very brown willow paper.
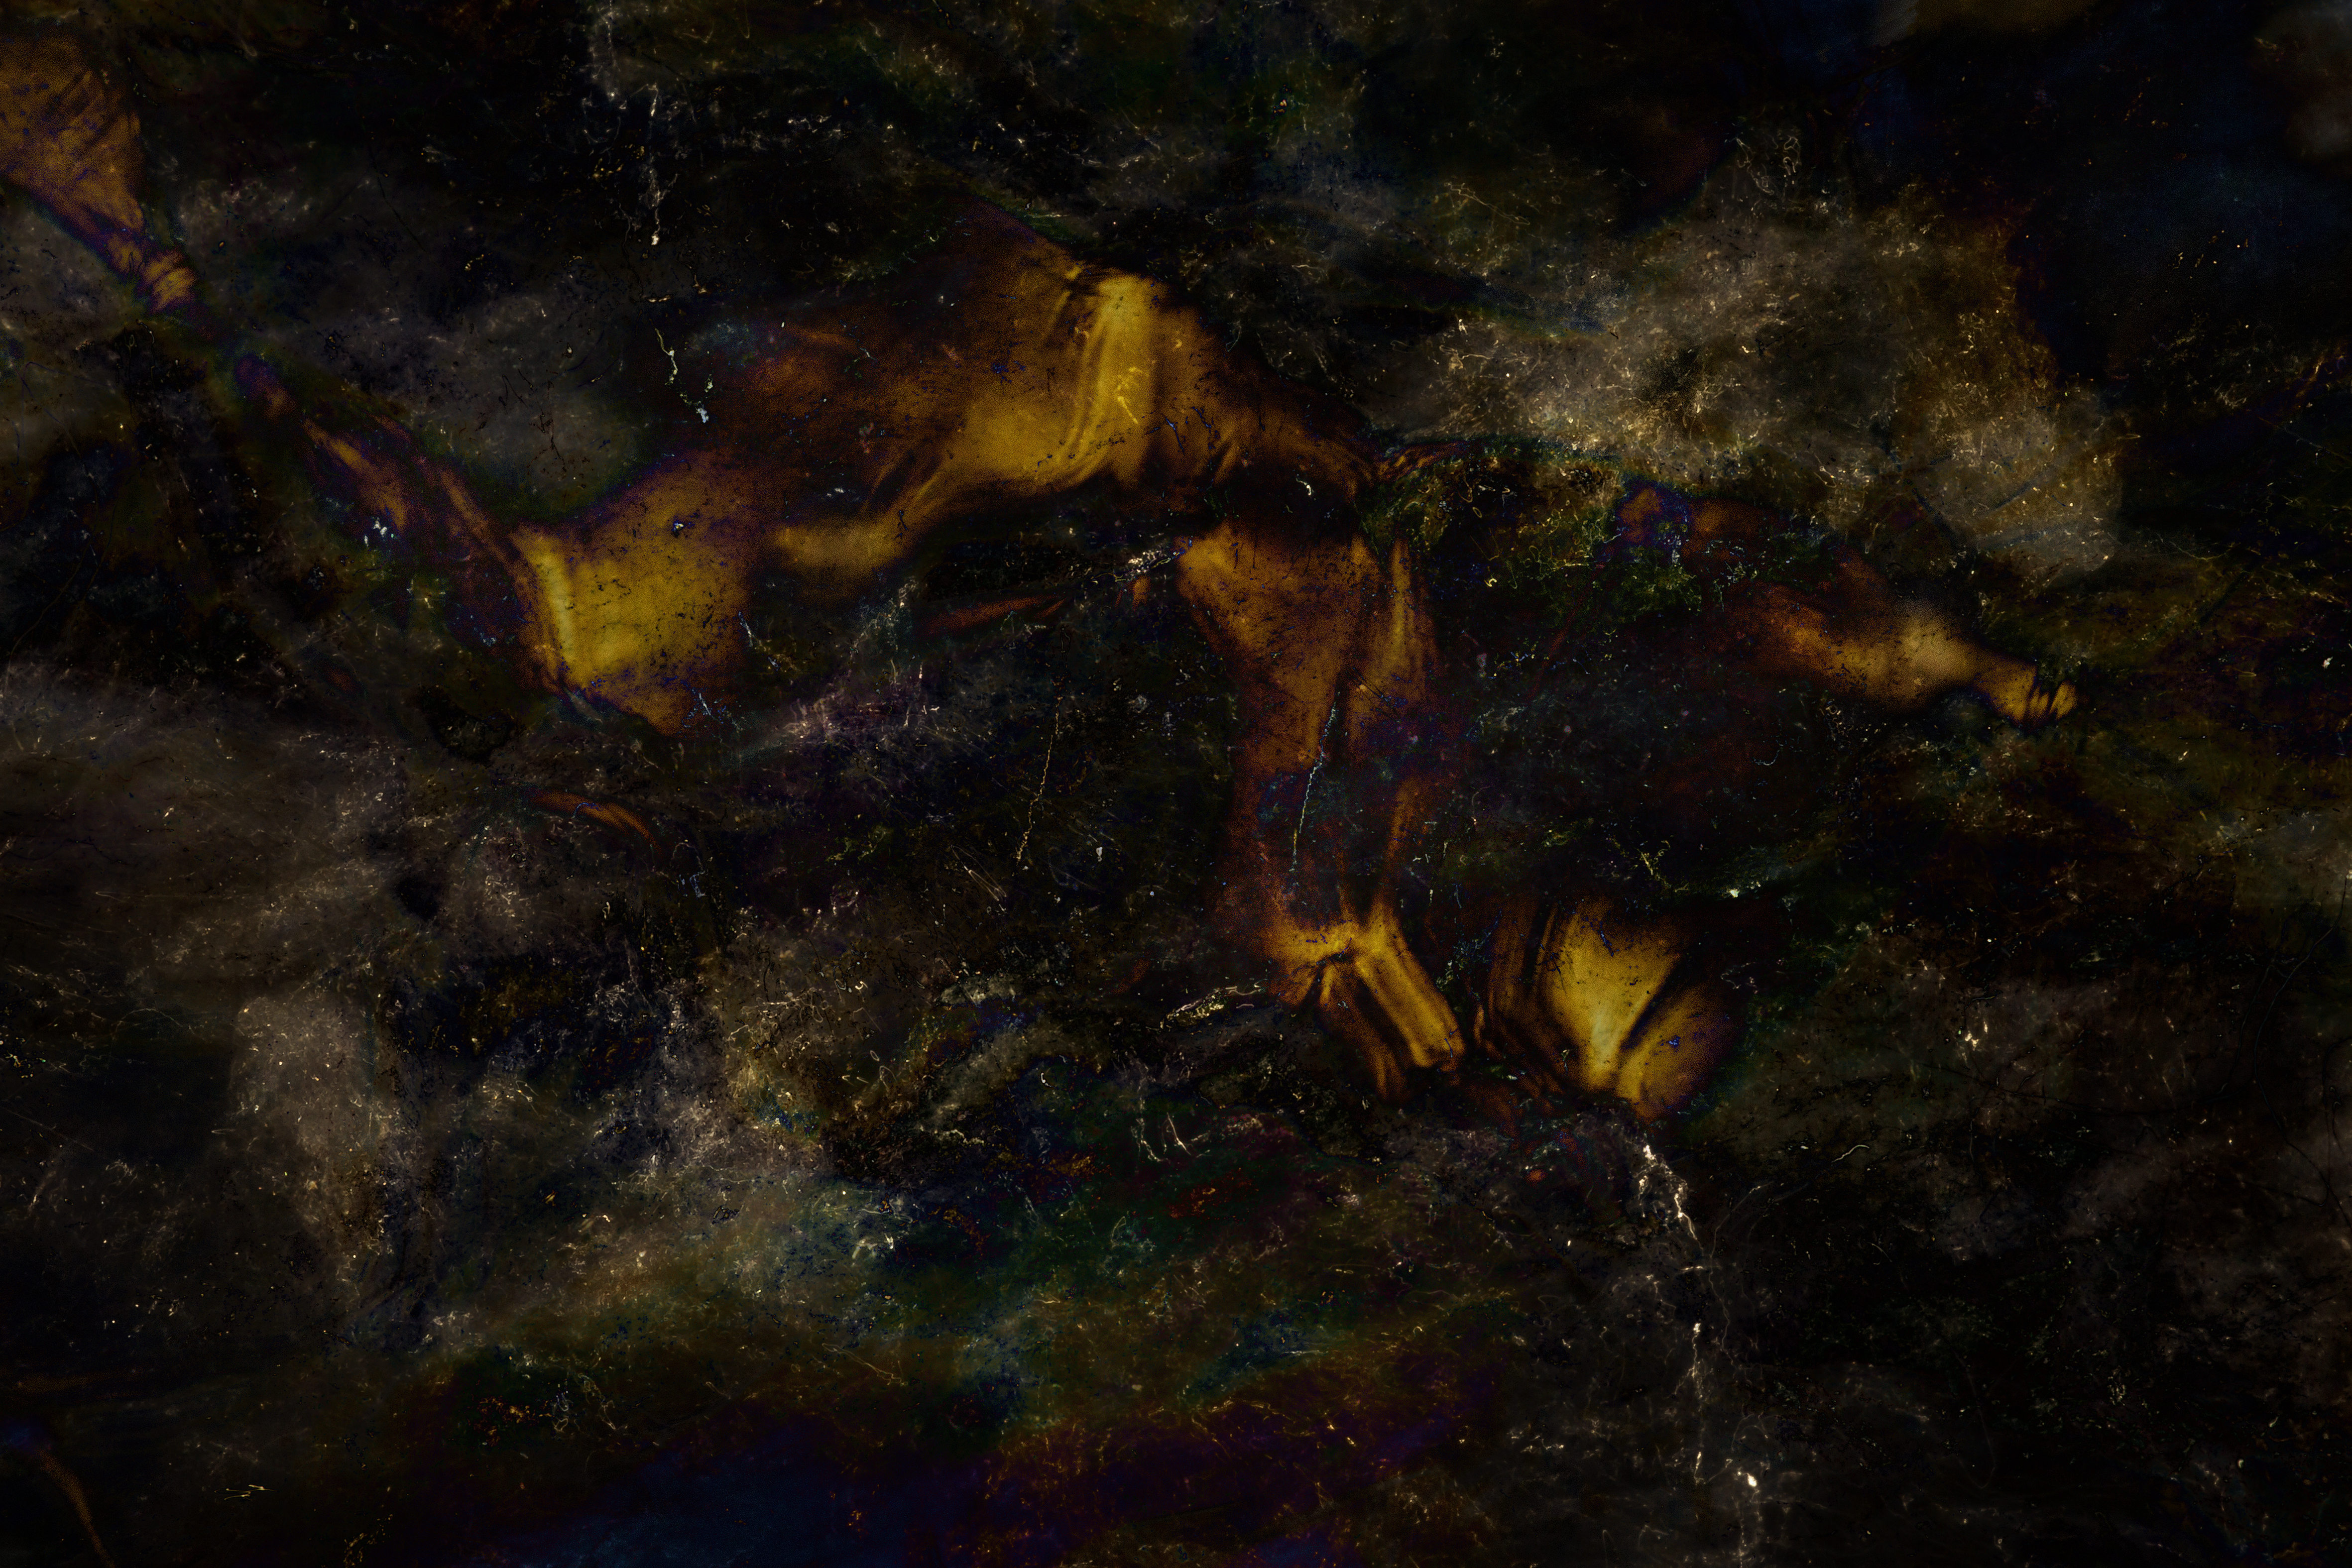
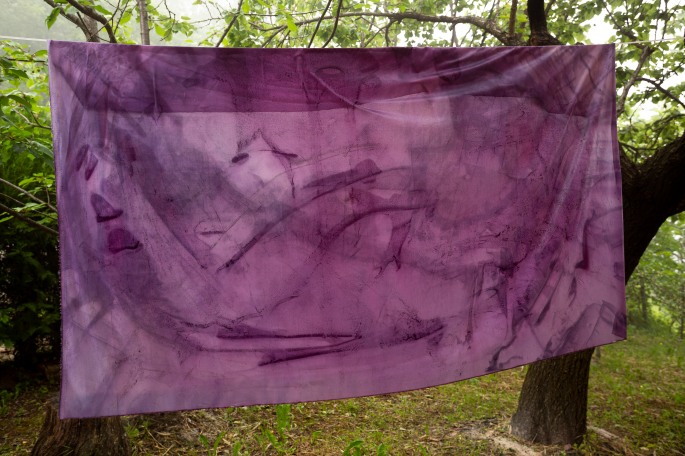
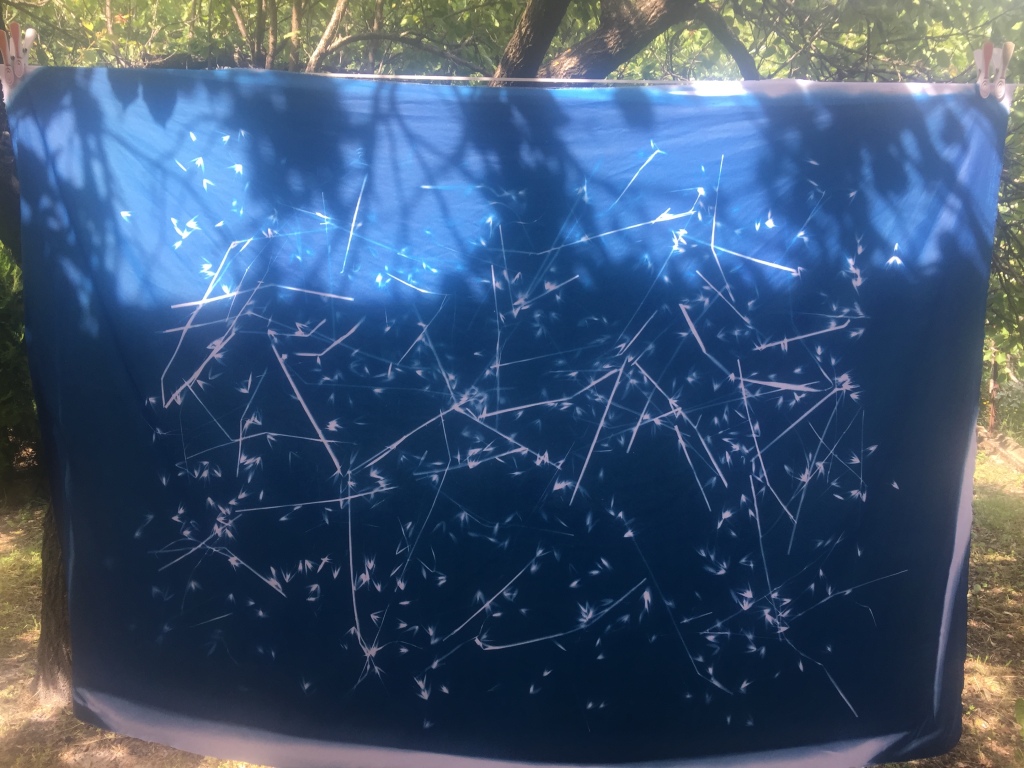
Working with all natural materials and plants in this way was a rewarding experience and I wanted to see what else I could experiment with and decided to make use of some of the berries we’d stored from last summer, along with two red cabbages which had overwintered in the garden and were being eaten by ants and earwigs, and a little leftover beetroot from the fridge. (I’m a massive fan of using things that are already to hand, especially if they are likely to be wasted otherwise). I had a large sheet from a failed cyanotype which I hadn’t exposed correctly so I decided to create an abstract emulsion wash on the cloth. I rarely get great results when I directly apply colours or inks with a brush, I much prefer to mark-make, pour, recently even using my hair, so although I started applying it with a sponge, I quickly switched to pouring the emulsion, then tipping the table to spread it. Random bubbles started popping up in the fabric, and I could see they were having a pleasing impact on the way the dye was being absorbed, so I began to incorporate some scrunching. You can see the whole process speeded up in this timelapse.
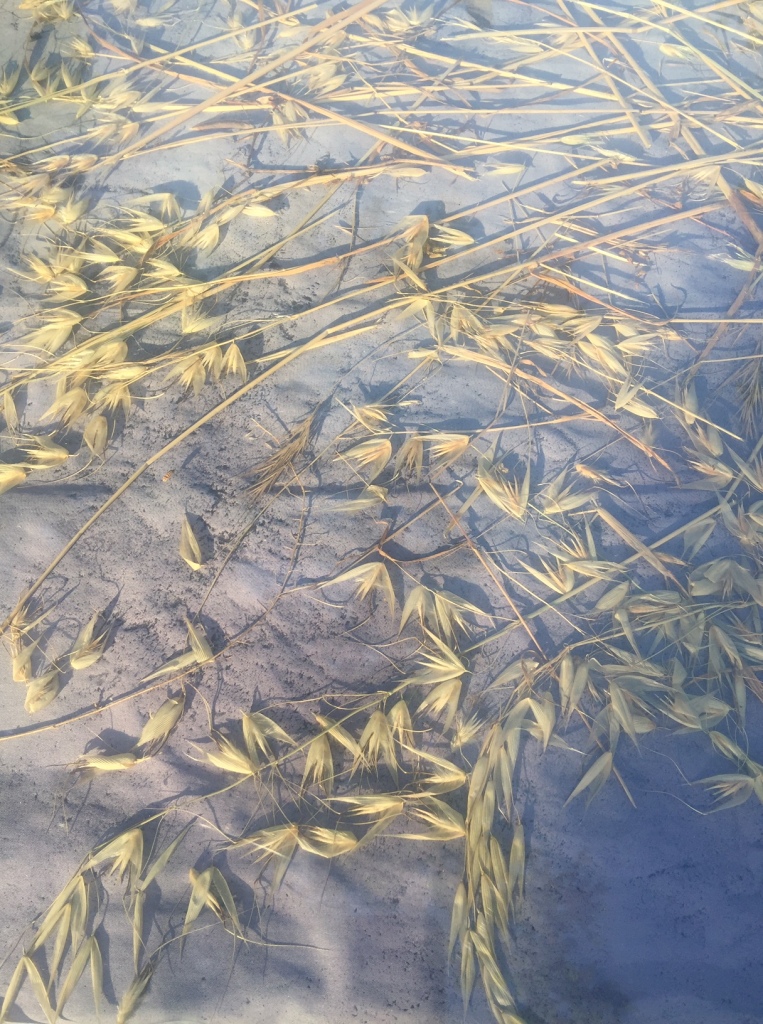
I hung the sheet up to dry and took some photographs to preserve an idea of the original colours, as I knew they would start to fade quite quickly, then I tucked it away for a couple of days waiting for the wind to drop. Yesterday I set the sheet up outside and covered it in wild oat trimmings from the garden, which I’ve also been making cyanotypes with – the tips remind of birds in flight, and the stalks arranged in abstract fashions are reminiscent of mountains. I laid the material quite densely as I want to preserve a significant amount of the original emulsion colours across the cloth during the exposure.

I’m not sure how long it will take to expose but I’ll be sure to let you know how it goes. In the meantime I hope you found that interesting and I’d be really happy to help with any questions you might have about trying out the process, and to see any of your own experiments.
Lastly I should thank the author of this book, which is a mine of information and recommended reading: Anthotypes by Malin Fabbri. And thanks to Katie Ione Craney and Tim Parkin for the flashes of inspiration.